1-800-540-9051
Info@HomesteadSupplier.com
Mon-Fri 7am-3pm Pacific Time

At Homestead Supplier, our years of expertise in crafting shed-building kits have taught us the ins and outs of how to waterproof a shed, ensuring it withstands the test of time against the elements.
This guide dives into essential steps and tips, from elevating your shed off the ground to applying a protective wood preservative, aimed at fortifying your outdoor haven.
We'll cover everything you need to know about sealing gaps, weatherstripping, roof protection, as well as the importance of regular maintenance.
What this article covers:Before we roll up our sleeves, let's ensure we have all the tools and materials at hand:
With our toolkit ready, it's time to dive into the nitty-gritty of waterproofing your shed.
Start by selecting a method that suits your shed's size and weight. Concrete blocks offer a quick and adjustable solution, ideal for smaller structures. For something more substantial, pressure-treated lumber provides a robust frame that resists decay.
If you're dealing with a larger shed or want a more permanent solution, pouring a concrete slab gives unparalleled stability.
Whichever method you choose, ensure there's enough clearance beneath the shed to allow air to circulate freely, speeding up the evaporation of any trapped moisture and keeping the underside of your shed dry.
Begin by conducting a thorough examination of your shed's exterior, paying close attention to areas around windows, doors, and where different materials meet. These are common places where gaps can form over time.
If you're wondering what to put around bottom of shed to keep water out, we recommend arming yourself with a high-quality exterior caulk and a caulking gun for precision application. Work your way around the shed, filling each gap with enough caulk to ensure there are no air pockets left. Smooth out the caulk with a tool or your finger to ensure a seamless seal.
This step is crucial for creating an impenetrable barrier against water, ensuring the interior of your shed remains dry.
Weatherstripping is your next line of defense in keeping moisture at bay. Measure the perimeters of all doors and windows to determine the length of weatherstripping needed.
Choose a durable, outdoor-rated weatherstripping material that can withstand temperature variations and exposure to the elements. Carefully apply the weatherstripping, making sure it compresses slightly when doors and windows are closed to form a tight seal.
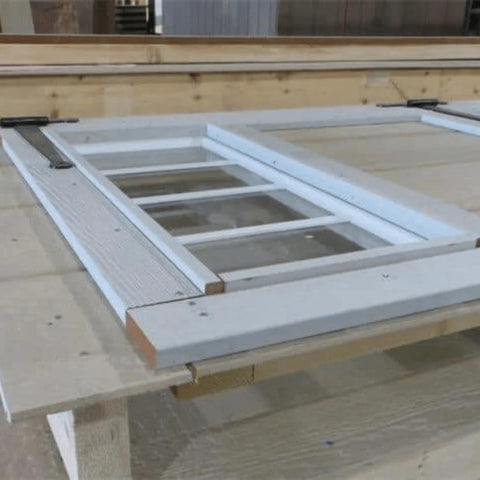
This not only prevents water from entering but also helps in maintaining the internal climate of the shed.
The roof's integrity is paramount in safeguarding your shed from water damage. Assess the size and shape of your shed's roof to determine the amount of roofing material needed.
For traditional roofing felt, start from the bottom edge of the roof and work your way up, ensuring each new layer overlaps the one below it by at least a few inches.
If using EPDM rubber sheeting, carefully spread the sheet over the roof, avoiding wrinkles and ensuring the edges extend beyond the roof perimeter. Secure the material in place with appropriate fasteners, paying extra attention to the roof's peak and edges, as these areas are most susceptible to water ingress.
Selecting the right wood preservative or waterproof sealant is key to this final step. Consider the climate and typical weather conditions your shed will face when choosing a product. Start by cleaning the shed's exterior to remove any dirt or debris that could hinder the application.
Using a brush, roller, or sprayer, apply the preservative evenly across all wooden surfaces, ensuring no spot is missed. Focus on end grains and joints, as these areas are more prone to absorbing water.
Follow the manufacturer's instructions regarding drying times and the need for additional coats. Regular maintenance, including reapplication of the preservative, will keep the wood in optimal condition, resisting rot, mold, and insect infestation.
To achieve optimal waterproofing for your shed, integrating the following strategies into your maintenance routine can significantly enhance protection against the elements:
An annual inspection of your shed, particularly as the rainy season approaches, is crucial for early detection and resolution of potential issues.

Look for signs of wear and tear, such as loose roofing material, deteriorating sealant, or compromised wood. Addressing these concerns promptly can prevent minor problems from escalating into major leaks or structural damage.
A well-ventilated shed is key to preventing the buildup of condensation and dampness inside, which are common precursors to mold and mildew growth.
Consider installing vents or louvers at strategic points, such as the gables or eaves, to facilitate air circulation. This not only helps to keep the interior dry but also maintains a healthier environment for stored items.
Proper ventilation is also useful if you're wondering how to keep a shed cool or control shed temperature.
Gutters and downspouts play a pivotal role in managing rainwater runoff, channeling it away from your shed's foundation. Ensure that your shed is equipped with a functional gutter system, and maintain it by clearing debris regularly to prevent blockages.
This can significantly reduce the risk of water pooling at the base of your shed, which can lead to foundation erosion or wood rot.
Proper grading around your shed can further enhance drainage, directing water away from the structure.
Slope the landscape gently away from the shed on all sides to encourage runoff to flow outward, rather than accumulating near the base. This simple landscaping adjustment can make a substantial difference in minimizing water intrusion.
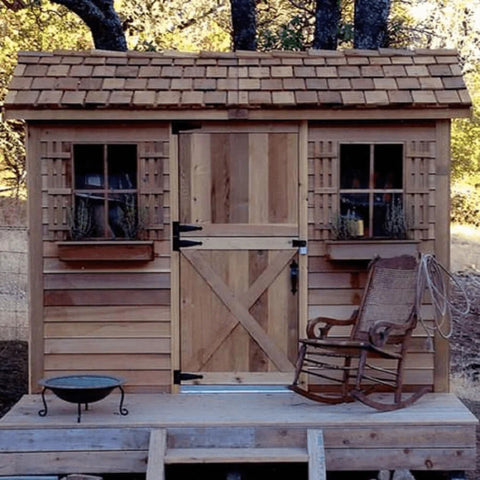
Extending the roof overhangs can provide additional protection by preventing rainwater from directly hitting the shed's walls. Consider retrofitting your shed with wider eaves or installing a drip edge to enhance this protective feature.
This not only contributes to waterproofing but also helps to shield the shed's siding from weather-related wear.
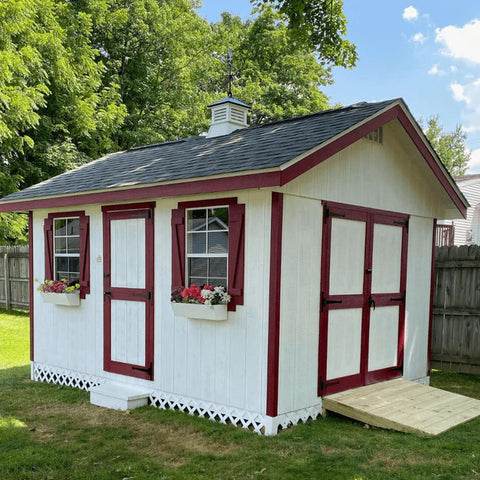
Many of our cedar sheds and EZ-fit sheds offer roof overhangs designed to help protect against all kinds of weather.
Over time, sealants and caulks can degrade, losing their effectiveness in keeping water out. Make it a point to check and refresh these materials as needed.
Pay special attention to areas around windows, doors, and any joints or seams in the shed's construction. A fresh application of high-quality exterior sealant can reinforce your shed's waterproof barrier.
Achieving a waterproof shed involves several key steps: elevating the structure off the ground, meticulously sealing any gaps, installing weatherstripping around doors and windows, ensuring the roof is well-protected, and applying a wood preservative to the exterior.
These collectively contribute to a shed that stands resilient against moisture, thereby extending its lifespan and safeguarding your stored belongings. By diligently following these guidelines, you not only enhance the longevity of your shed but also safeguard the items stored within.
For those ready to take the next step in outdoor shed protection, Homestead Supplier offers an array of shed kits engineered for durability and ease of customization. Discover our collection today and invest in a shed that promises longevity and reliability.
Absolutely! While it's easier to incorporate waterproofing measures during construction, you can still effectively waterproof an existing shed by following the steps outlined above.
It depends on the product and your climate, but generally, reapplying every 1-2 years will keep your shed in top condition.
While not always necessary, waterproofing the interior can provide extra protection, especially if you're storing sensitive items or experiencing extreme weather conditions.
Waterproofing is also vital if you're running electricity to a shed and are trying to meet power to shed requirements.
If you want to learn more, why not check out these articles below:
Compare products
{"one"=>"Select 2 or 3 items to compare", "other"=>"{{ count }} of 3 items selected"}
Leave a comment